Deploy A NativeScript App With A Pre-Filled SQLite Database
Recently I wrote an article regarding how to use SQLite in a NativeScript Android and iOS mobile application. In my previous tutorial the assumption was that the database would be created fresh. However, what if you want to ship a pre-filled SQLite database with your application? Maybe you have 10,000 records that you prefer not to have to download from a remote web server, or maybe there is another reason. Having a pre-populated database is fair game.
We’re going to take a look at what it takes to ship a NativeScript application with a SQLite database that already contains data.
Let’s start by creating a fresh NativeScript project. From the Command Prompt (Windows) or Terminal (Mac and Linux), execute the following:
tns create ExampleProject
cd ExampleProject
tns platform add android
tns platform add ios
It is important to note that if you’re not using a Mac then you cannot add and build for the iOS platform.
Like with my previous tutorial, this application will use the NativeScript SQLite plugin by Nathanael Anderson. I’m not going to go through the process of inserting and querying for data with the depth that I did in the previous tutorial because that is not the goal here. Our goal is to use a pre-filled SQLite database.
With the project as the current working directory for the Command Prompt or Terminal, execute the following to add the SQLite plugin:
tns plugin add nativescript-sqlite
Now we can try to come up with a SQLite database.
I recommend using the free DB Browser for SQLite software, compatible with Mac and Windows. To use DB Browser for SQLite, open it once it has been downloaded.

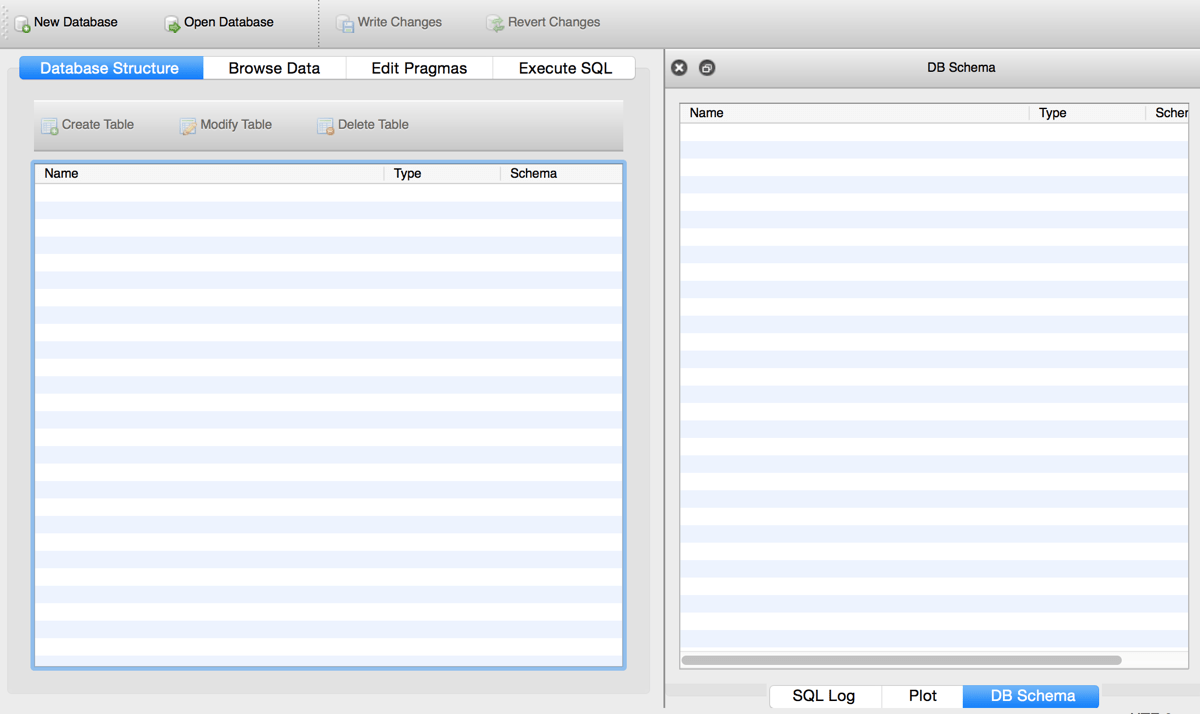
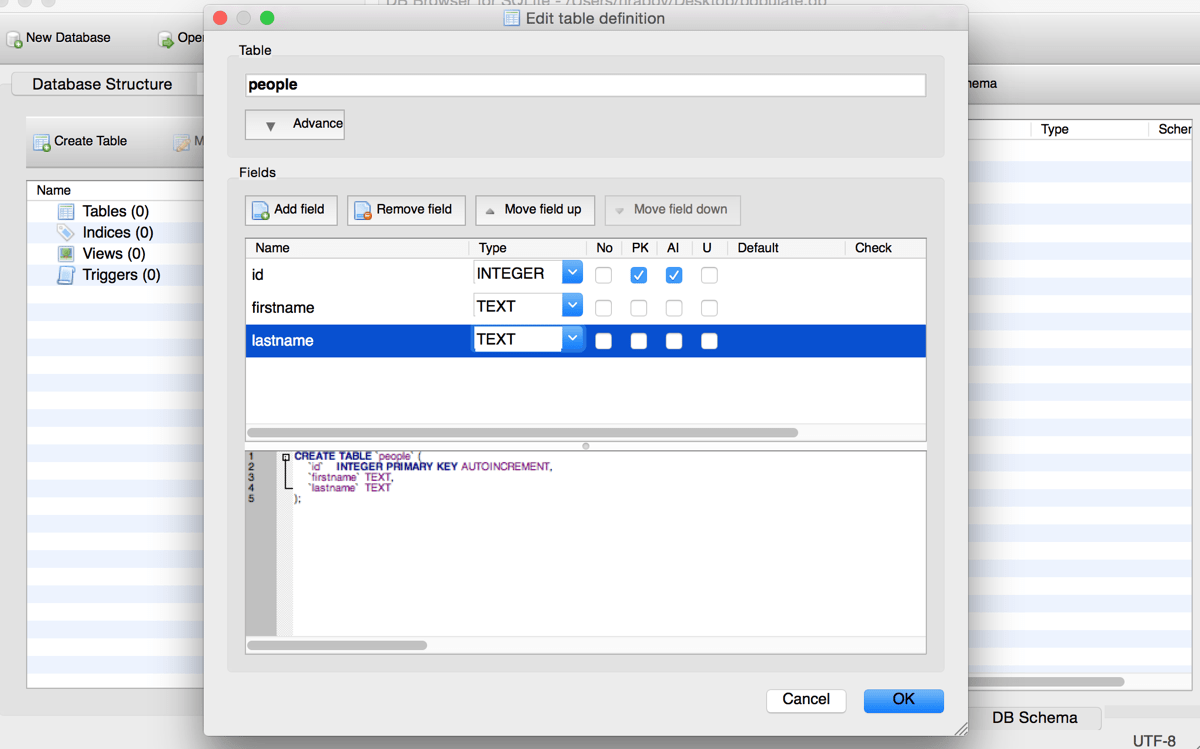
Choose New Database and you’ll be prompted to name it and create a new table. For this example I’m calling my database populated.db and my table people.

Make sure to give your table three columns, id, firstname, and lastname. The name columns should be of type TEXT and the id column should be an auto-incrementing primary key.
Once the table has been created it is time to start adding data to it.

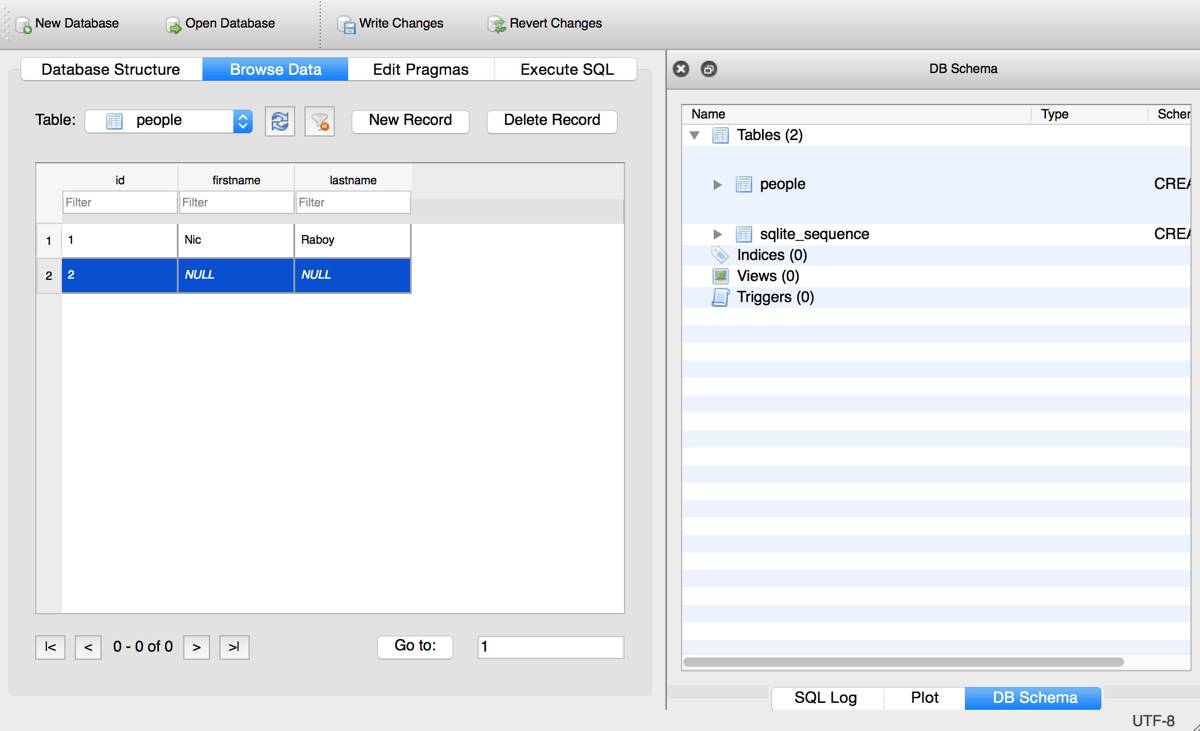
Choose Browse Data and then New Record.
After you’ve added all the data you wish to add, don’t forget to select Write Data, otherwise none of your changes will be saved. You’re done crafting your pre-filled database at this point.
This database, populated.db, should be placed in your project’s app directory. After we call the appropriate commands it will be copied from this directory into the correct platform location.
Let’s see what it takes to copy this pre-filled SQLite database over. Here is a chunk of code from my project’s app/main-page.js file:
function onNavigatingTo(args) {
    var page = args.object;
    if (!Sqlite.exists("populated.db")) {
        Sqlite.copyDatabase("populated.db");
    }
    (new Sqlite("populated.db")).then(db => {
        database = db;
        db.execSQL("CREATE TABLE IF NOT EXISTS people (id INTEGER PRIMARY KEY AUTOINCREMENT, firstname TEXT, lastname TEXT)").then(id => {
            page.bindingContext = createViewModel(db);
        }, error => {
            console.log("CREATE TABLE ERROR", error);
        });
    }, error => {
        console.log("OPEN DB ERROR", error);
    });
}
What really matters here is the following lines that do the copying:
if (!Sqlite.exists("populated.db")) {
    Sqlite.copyDatabase("populated.db");
}
We first check to make sure the database does not exist. We wouldn’t want to overwrite our data. If the database doesn’t exist, copy it from the bundled app directory.
At this point we have a database ready to be used. I strongly encourage you to check out my previous tutorial when it comes to actually querying a SQLite database in NativeScript. The other tutorial works great with or without a pre-filled database.
Conclusion
Previously I demonstrated how to create and query a SQLite database in NativeScript as an alternative to the application settings module. This time around we saw how to create a pre-filled database that can be shipped with the application.
A pre-filled SQLite database is useful if you have a lot of data to ship with the application. It could potentially save your users from receiving data charges from their mobile carrier because they aren’t downloading in the background.
A video version of this article can be seen below.

