Create Circular Images With Curved Text In Affinity Designer
As many of you know, I’ve been trying to expand the brand for The Polyglot Developer. I’ve redesigned the site, printed shirts, and even started creating stickers.
I’ve been printing circular stickers with Sticker Mule, and one thing that had been a real challenge is adding circular or curved text to them. It is nice to have the brand logo on the stickers, but until developers know what the logo is, it helps to have a website link as well.
This lead me to Affinity Designer, the much cheaper alternative to Adobe Illustrator, and the more polished alternative to Inkscape. We’re going to see how to create some nice images with curved text in Affinity Designer.
For this example, we’re going to build one of the stickers that I print. Note that you don’t have to have the goal of printing stickers to get value out of the content here. It is just the example that I used.

At this point in time you should obtain a copy of Affinity Designer. It is a paid software, but it is worth every penny.
When you open Affinity Designer, find the image that you wish to use. It is best if your image has a transparent background so that you can create a colored layer behind it.
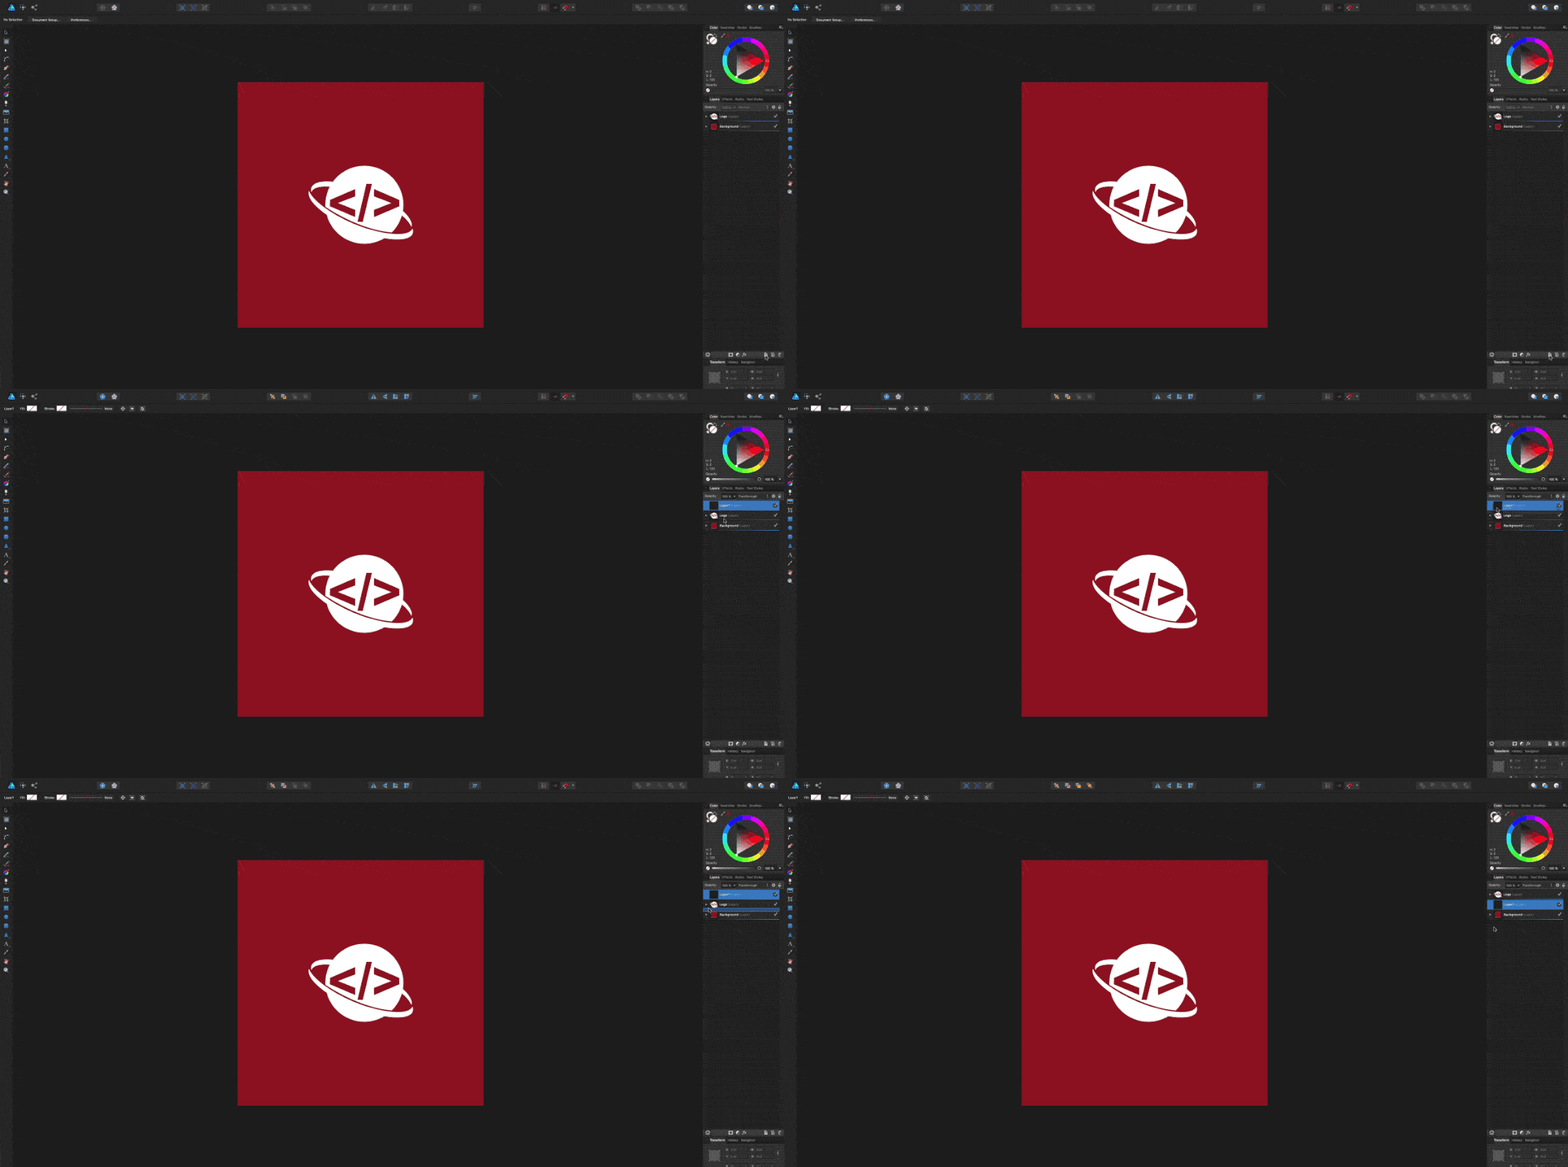
Regardless what you choose to do, you’re going to want to add a new layer behind your main image. This new layer is going to represent the circular additions that we plan to add. By circular additions, I mean the outer circle that defines the sticker cut as well as the inner circle that the text will be wrapped around.
With the new layer selected, you’ll want to make use of the circular tool from your toolbox.
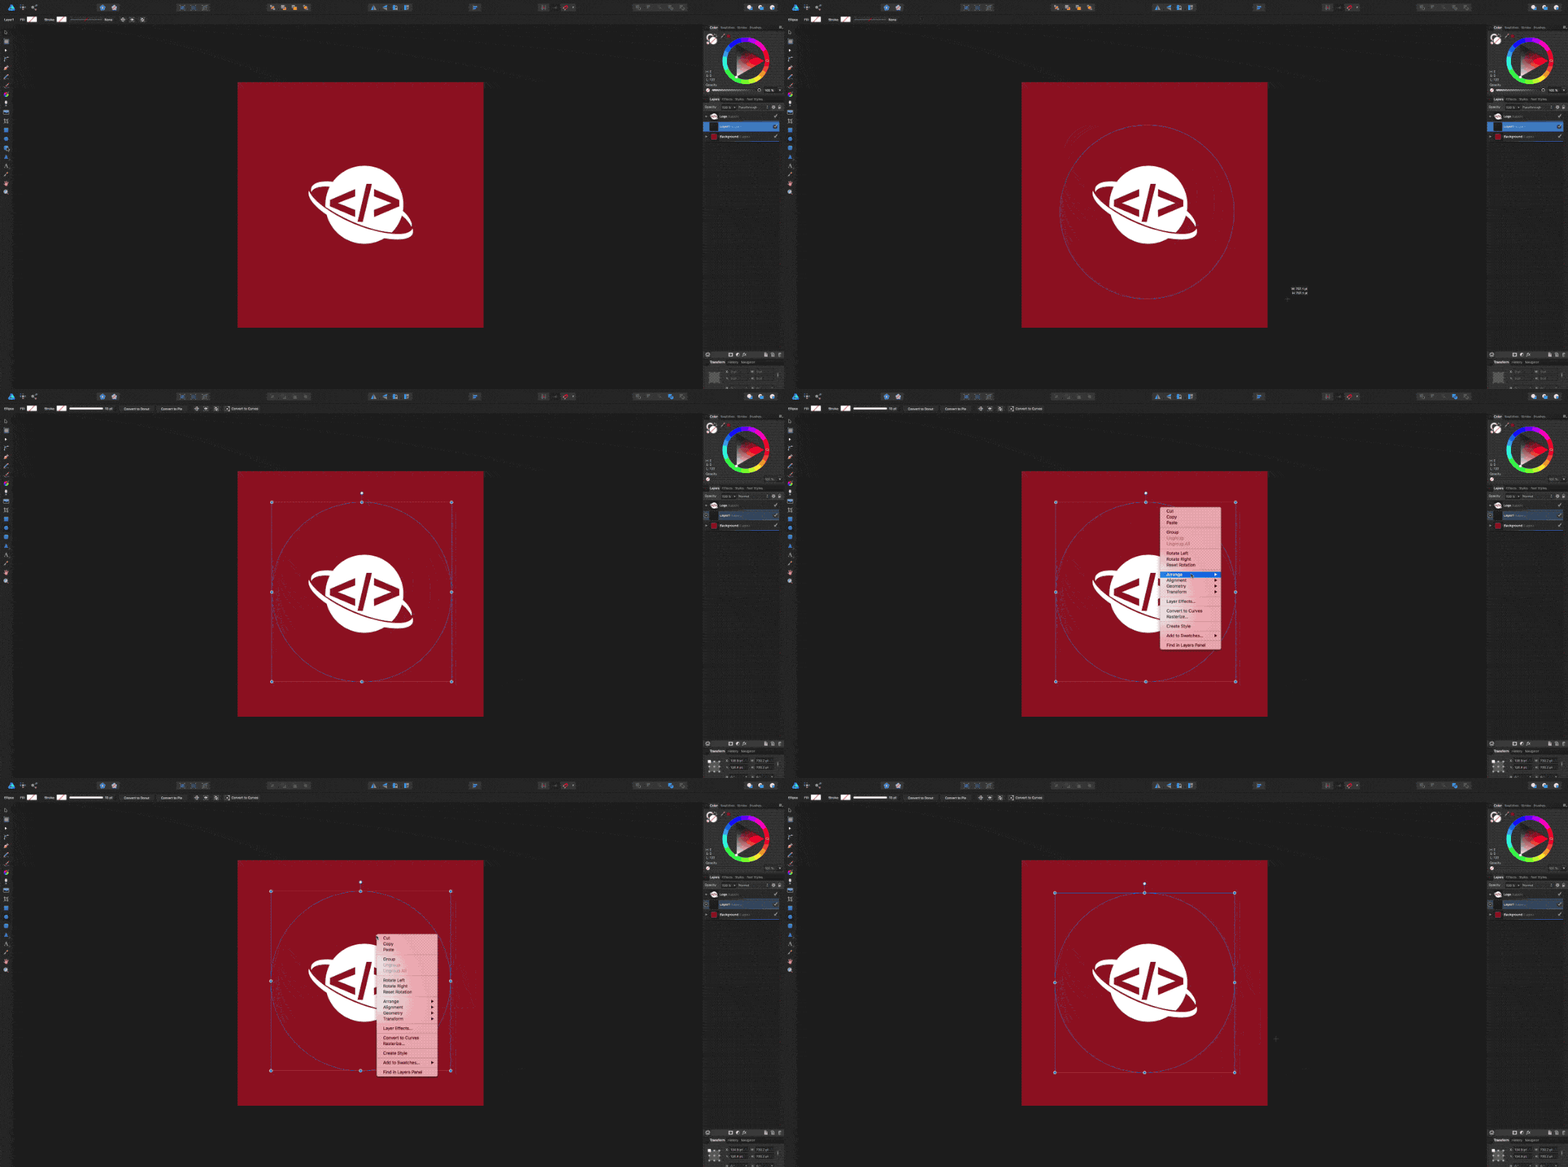
Make sure to arrange this circle so that it is centered both vertically and horizontally on the canvas. Your main image should also be centered within the canvas.
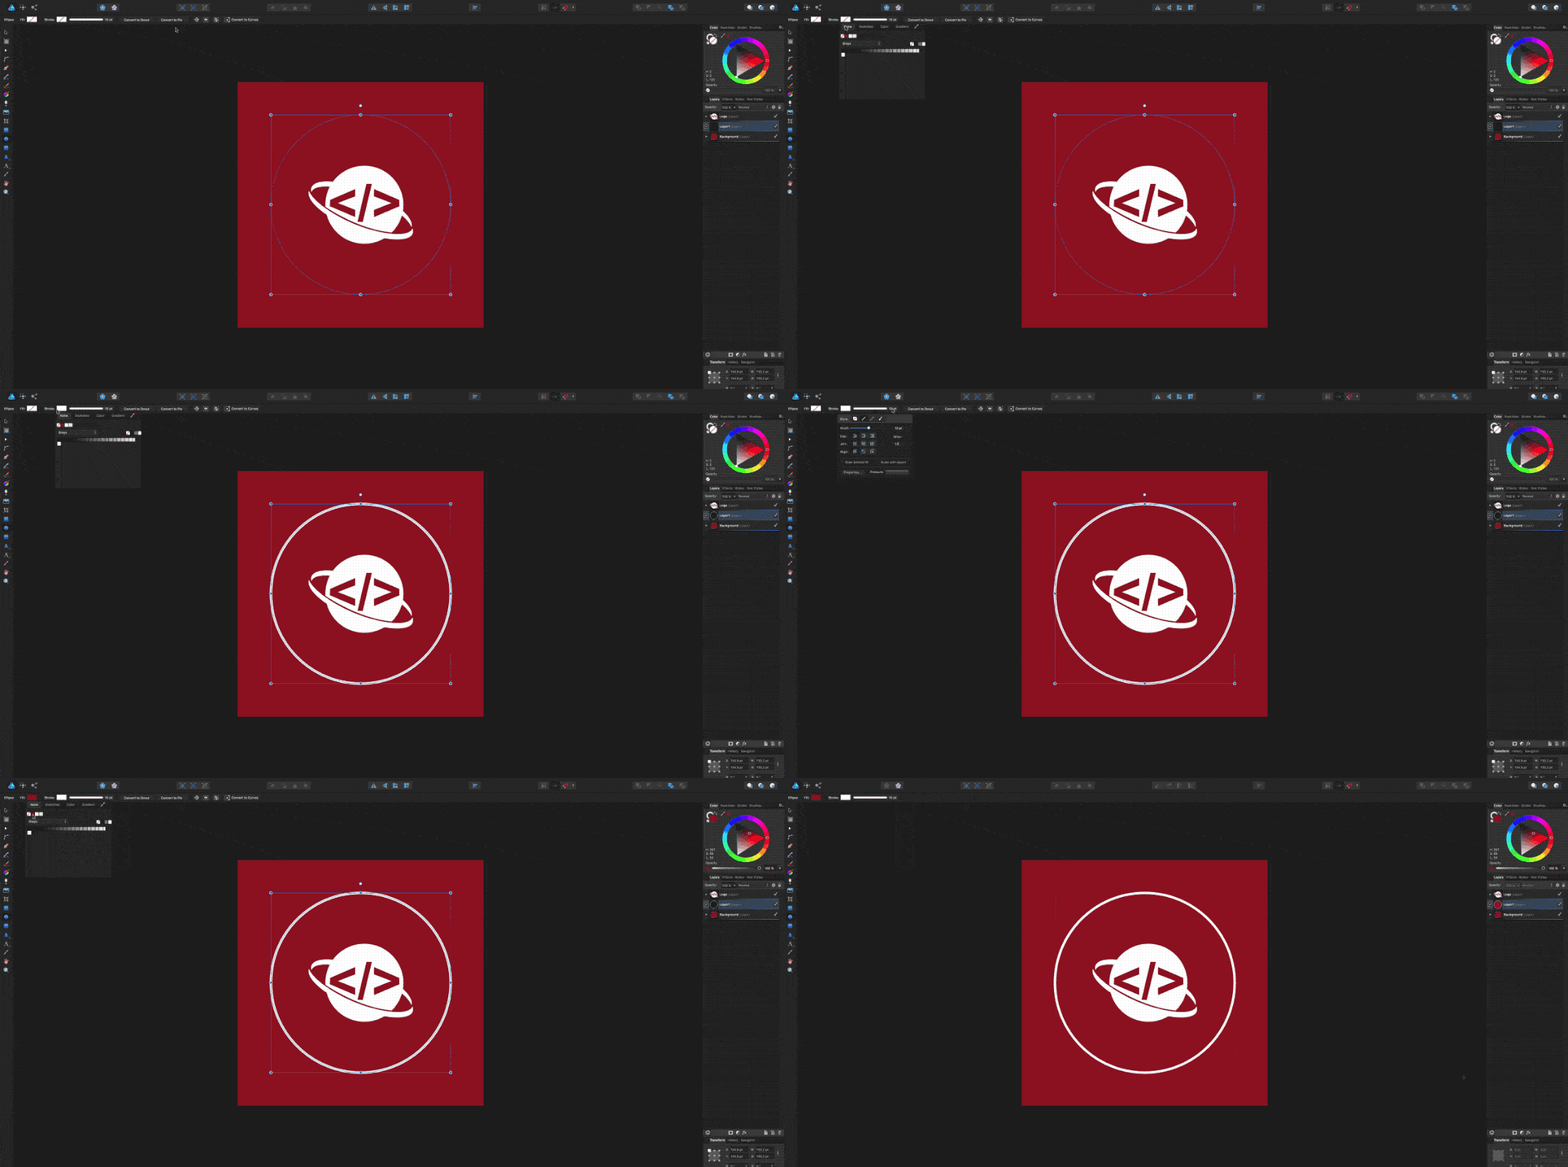
In many circumstances, at least with mine, you may want to add a border around your image. This can be done by adding a stroke color and width to the outer circle that you previously added.
To curve text around a circle, you’ll first need to add the circle that you wish to use as your template.
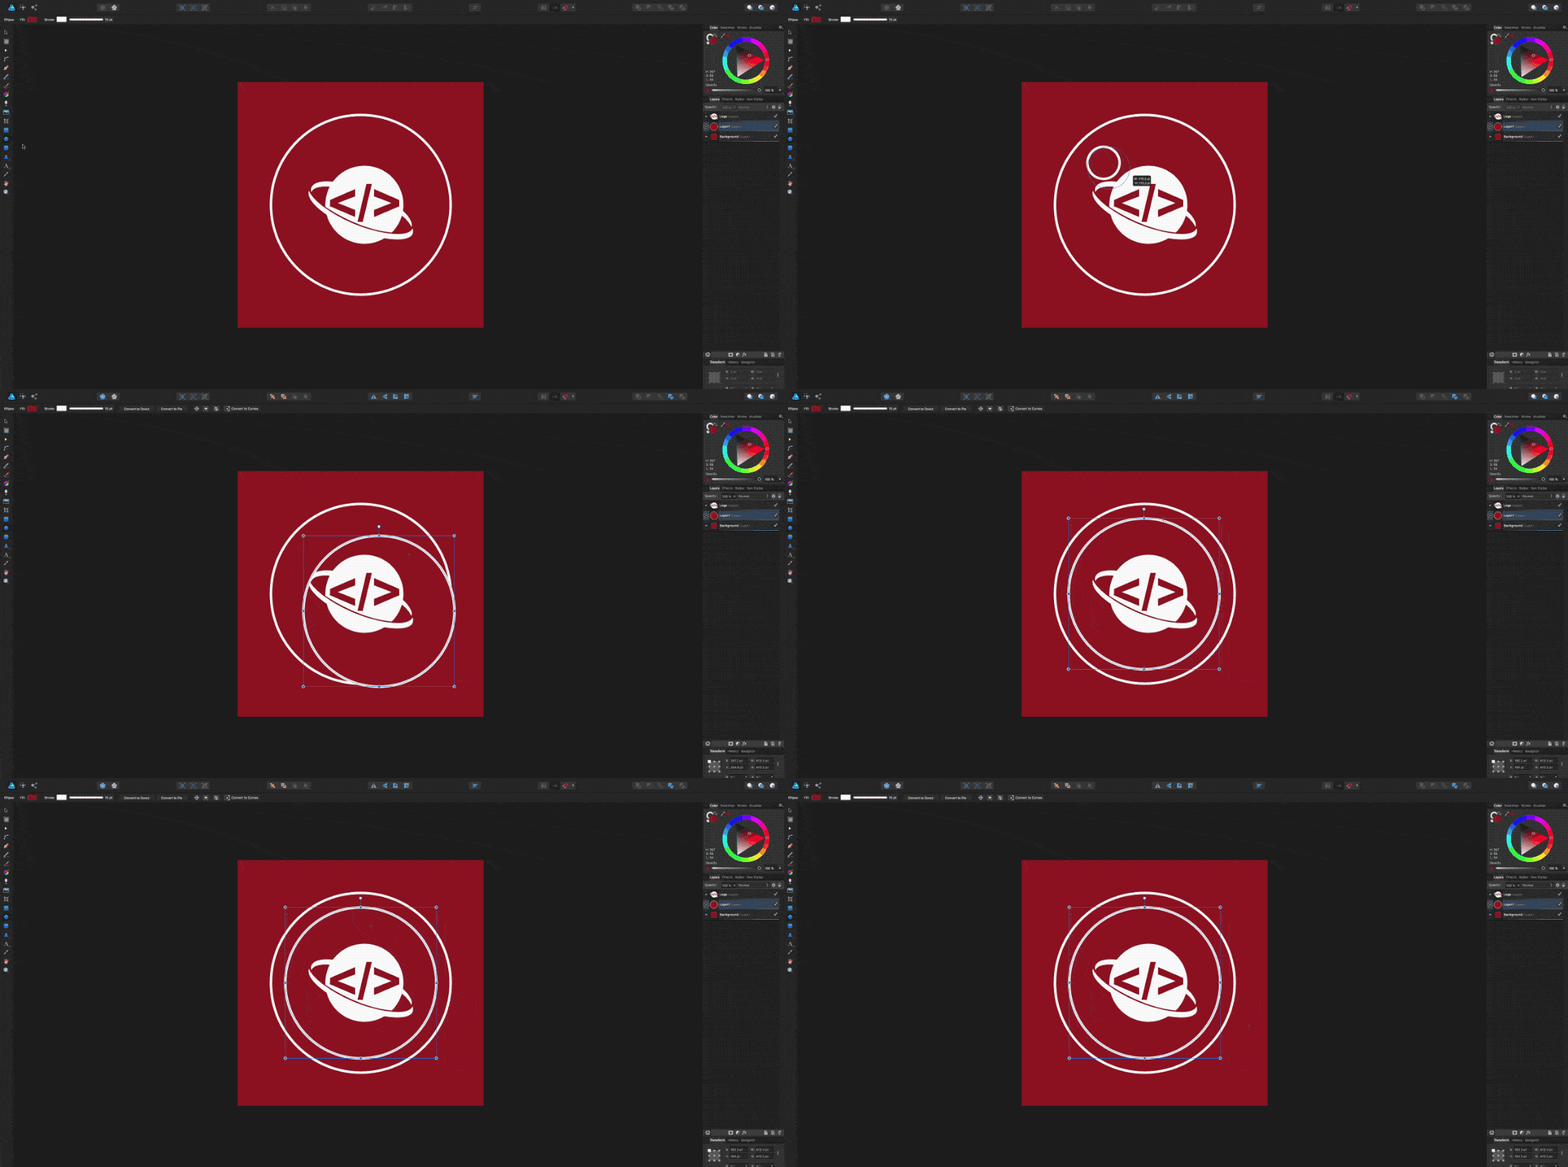
Make sure that the inner circle is smaller than the outer circle, unless of course you have other goals in mind. Like with the outer circle, make sure that the inner is centered both vertically and horizontally.
If you’ve been following along as of now, the inner circle probably has a stroke color. It makes sense to remove the stroke as this circle will represent our text.
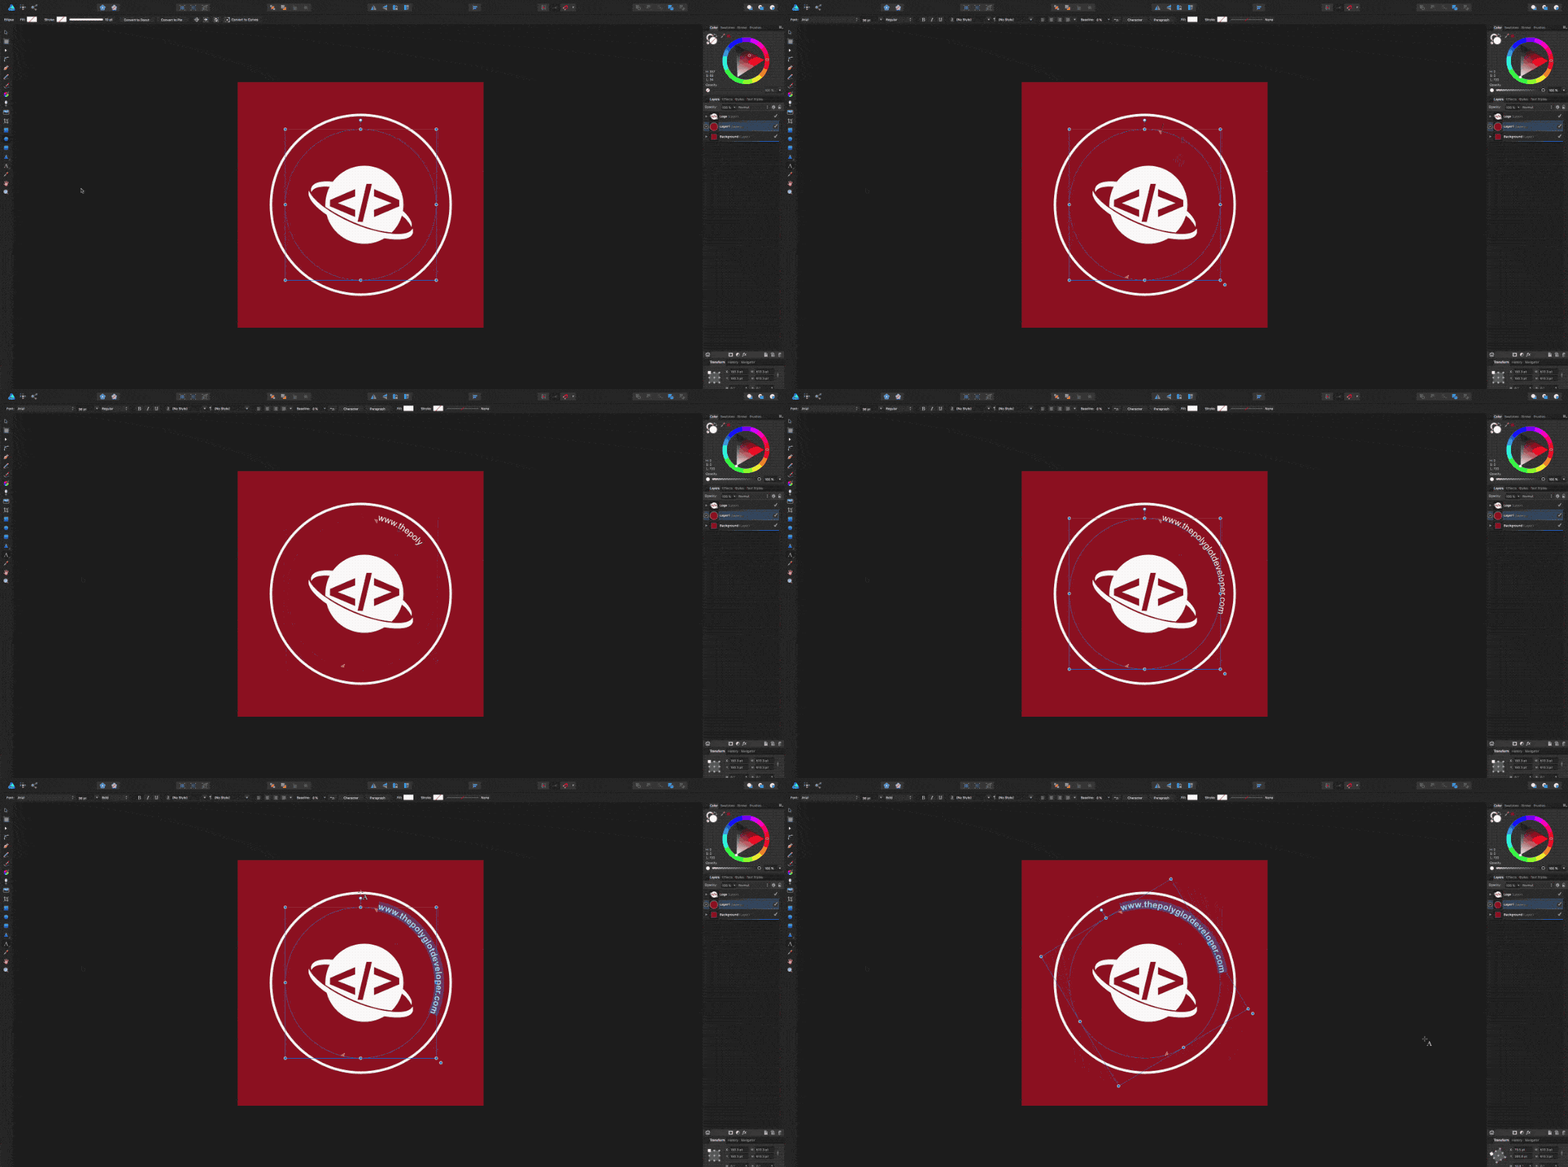
With the inner circle selected, choose the text tool from the toolbox. When you hover the circle, you’ll notice that the cursor changes. When the cursor changes, click and you’ll notice that anything you type is wrapped around the circle.
The text can be rotated by rotating the circle that it is wrapped around.
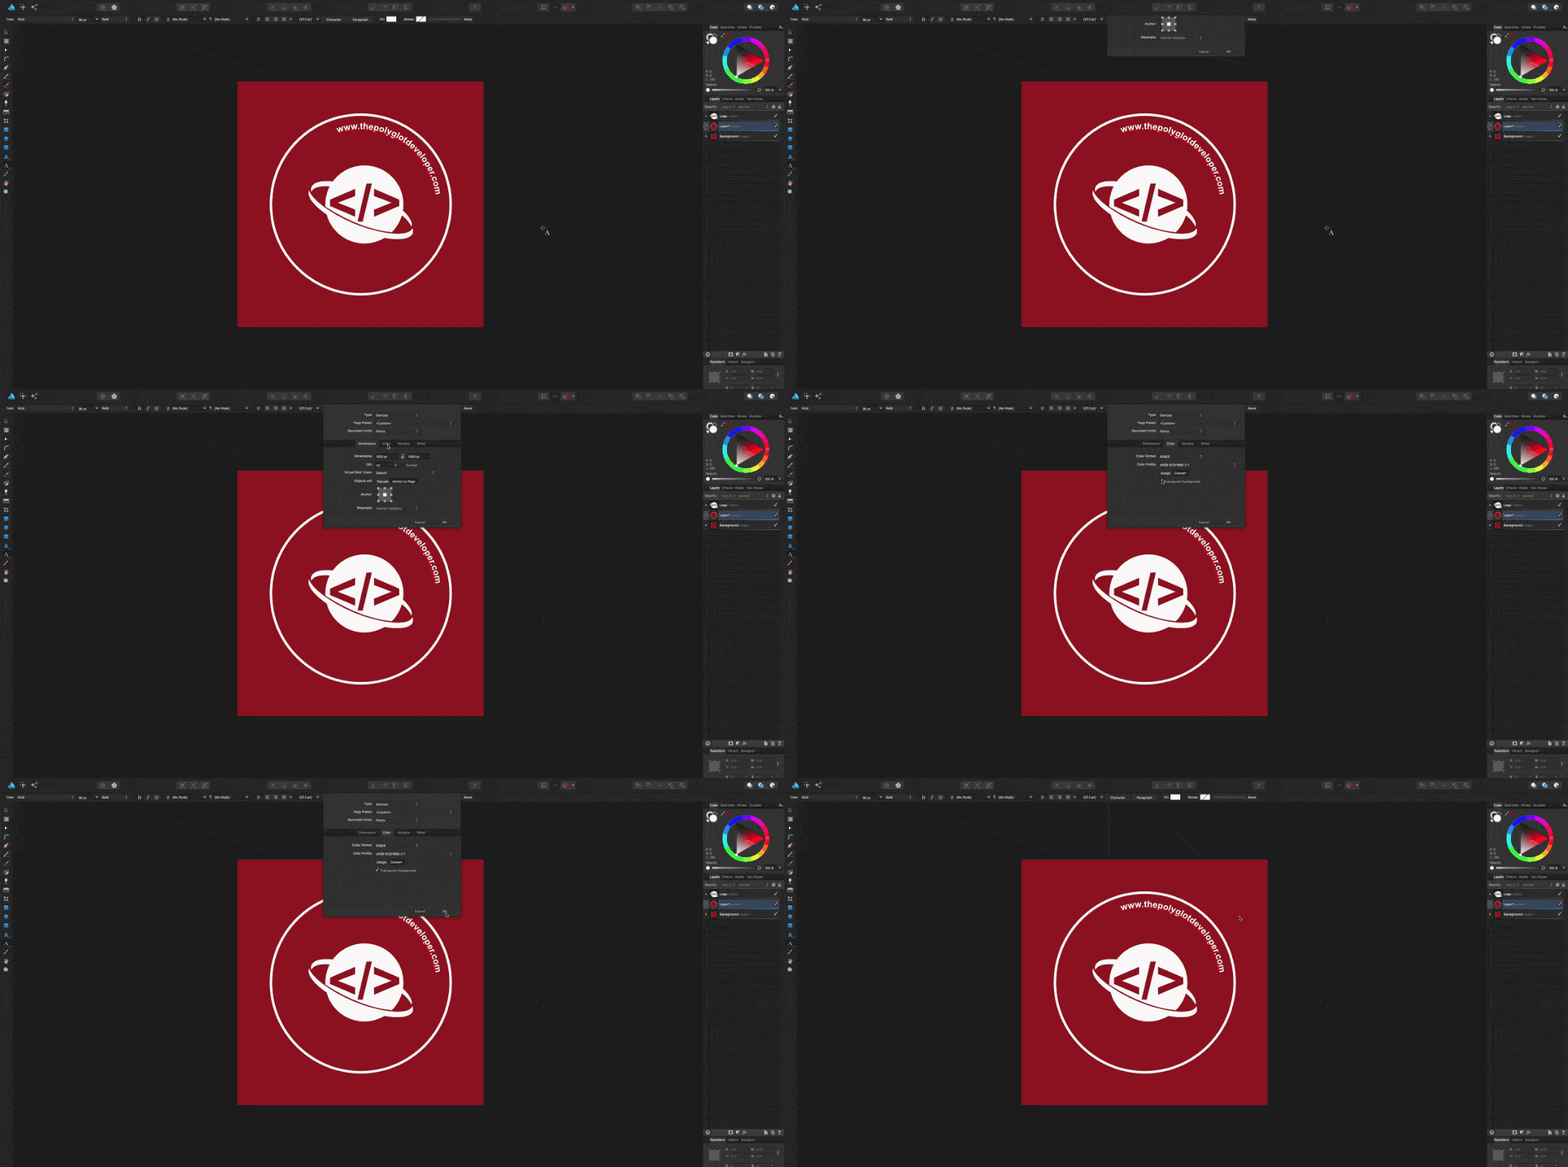
If you’re like me, you want the entire image to be circular. This means that we should probably remove the parent background color and leave transparency behind it. However, by default, the background is not transparent in Affinity Designer. From the document settings, found at File -> Document Setup…, add transparency from the Color tab.
Now we can remove the placeholder layer that sat behind both our image and the layer that we had added.
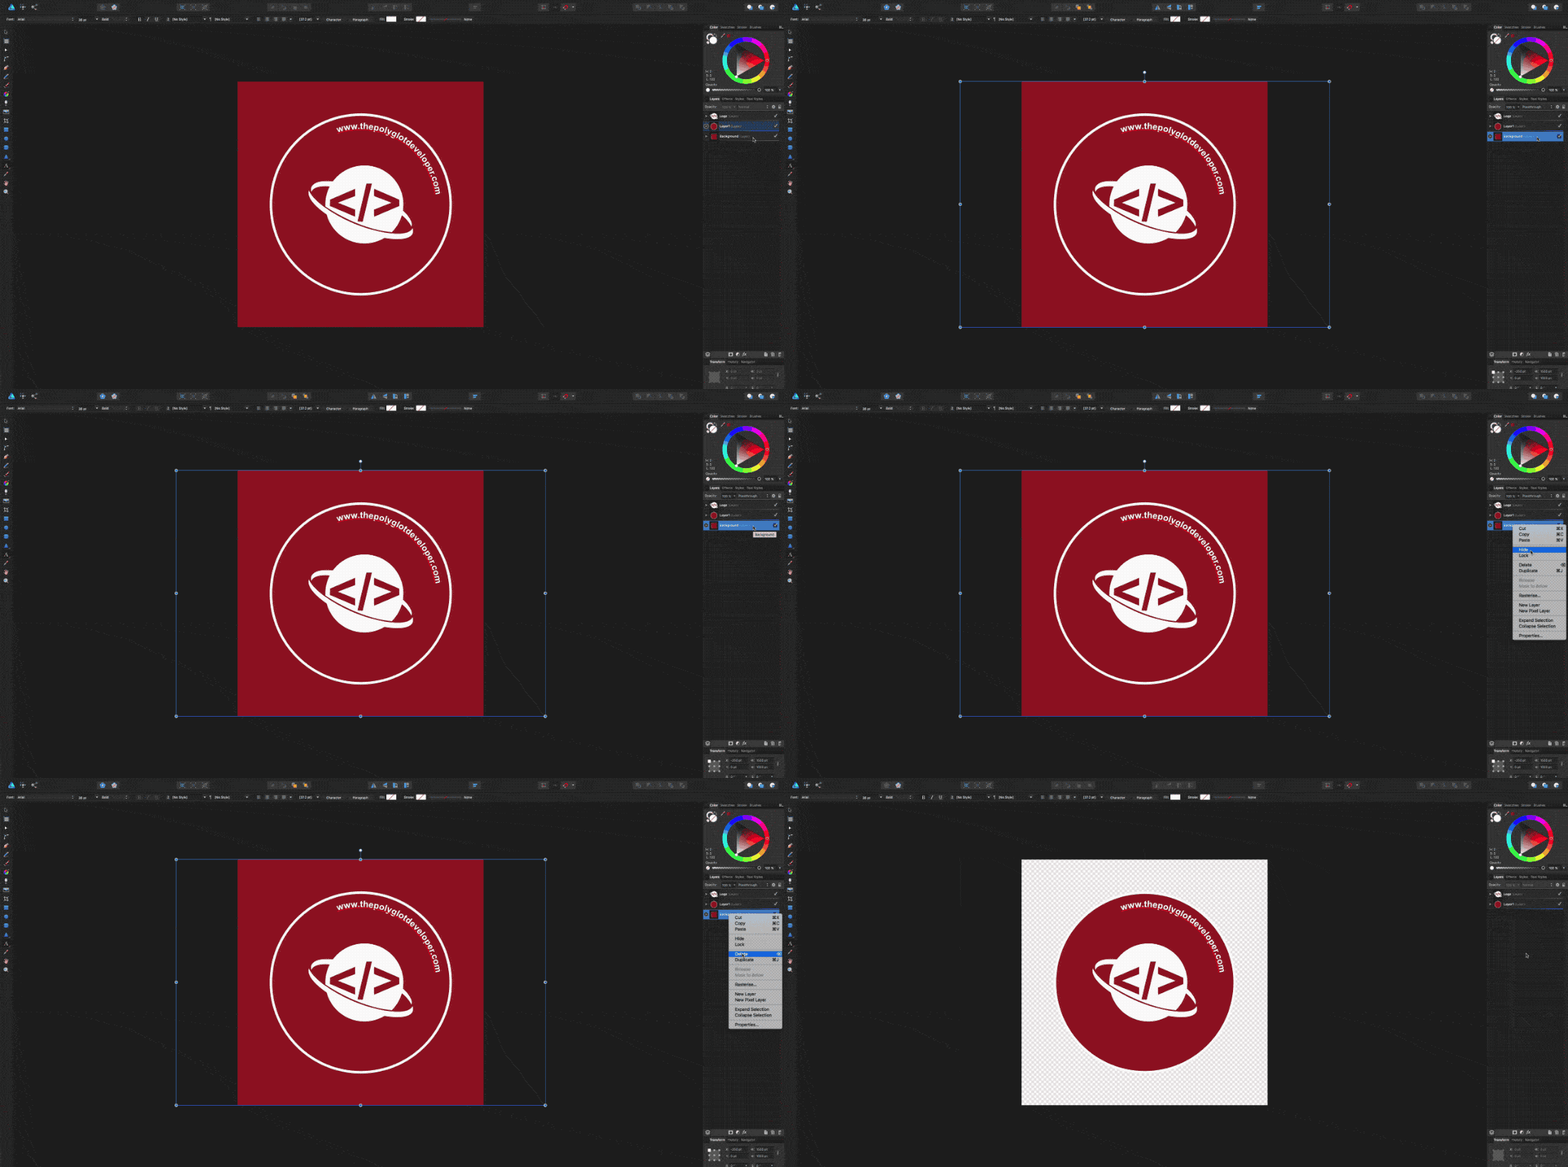
This will leave us with an image that is sitting on a transparent background. For best results, we probably want to crop the canvas to the actual size of the image. Remember we’re working with vector graphics so the actual size doesn’t have to change, only the space around it.
Accomplishing this isn’t so straight forward.
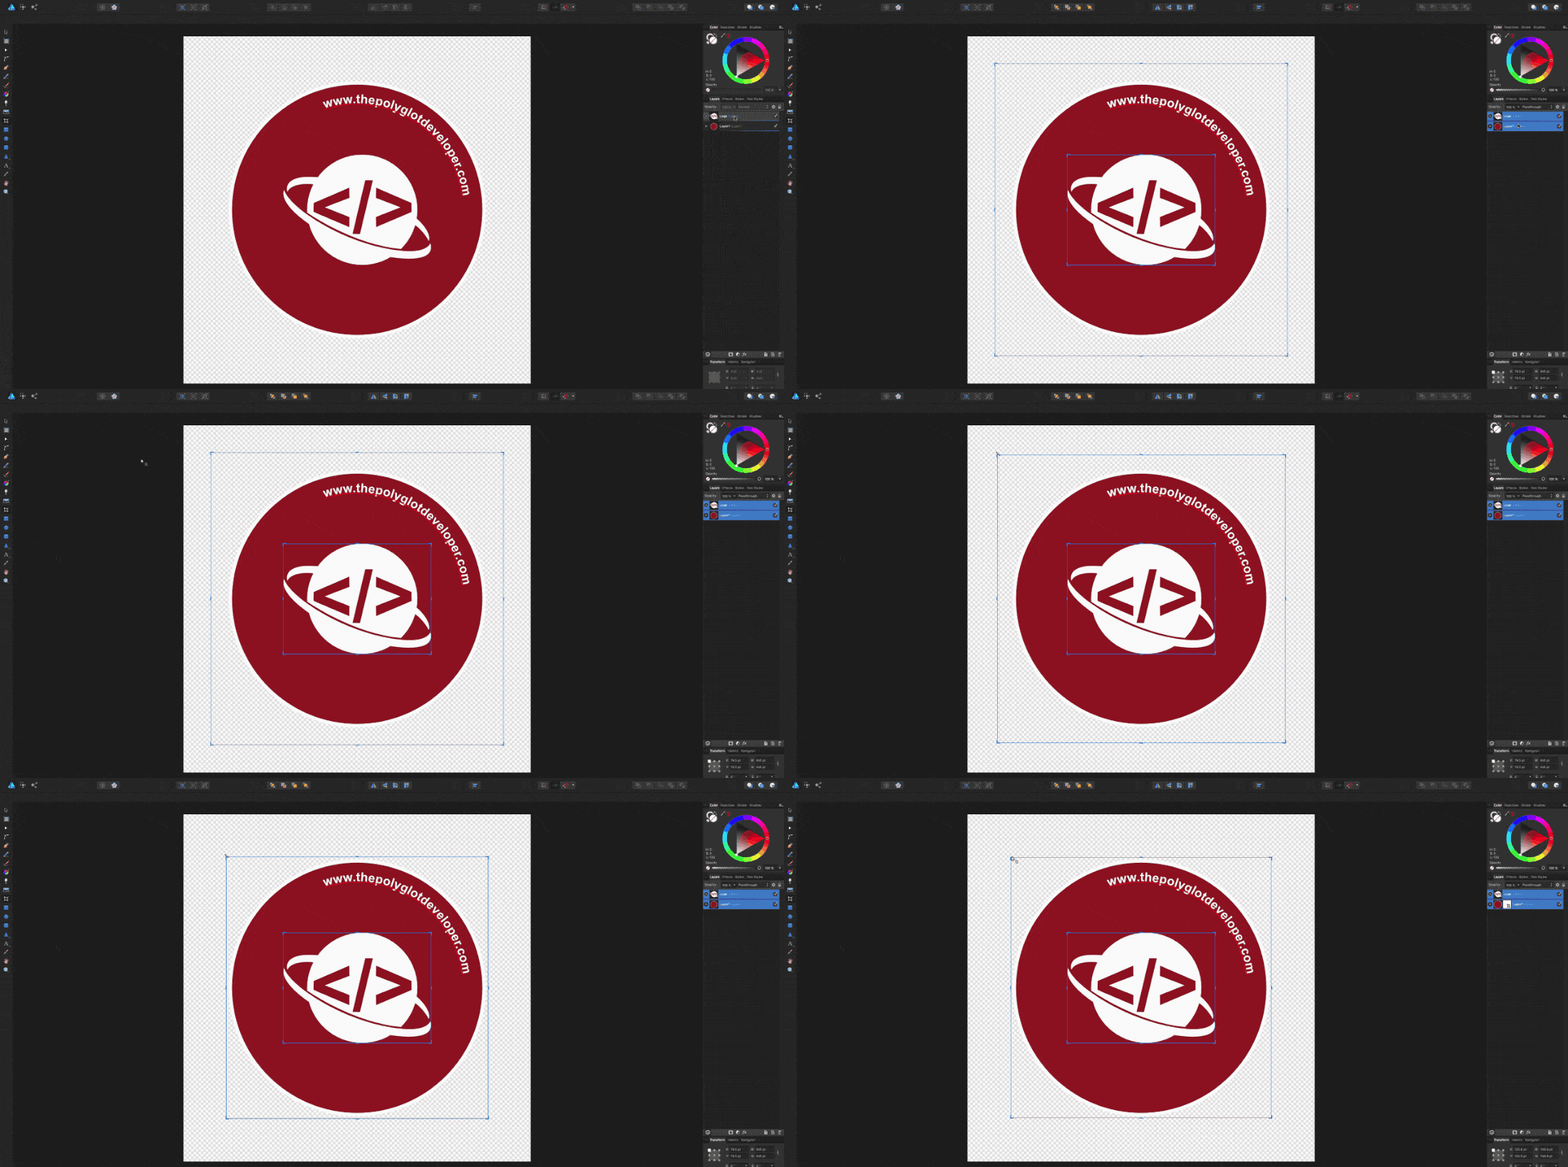
First we must crop the image. Select any remaining layers and then use the crop tool to get as close as possible to your largest layer. When you’ve done this, check out the size values at the bottom right of the screen. These are the values that you’re going to crop your canvas to next.
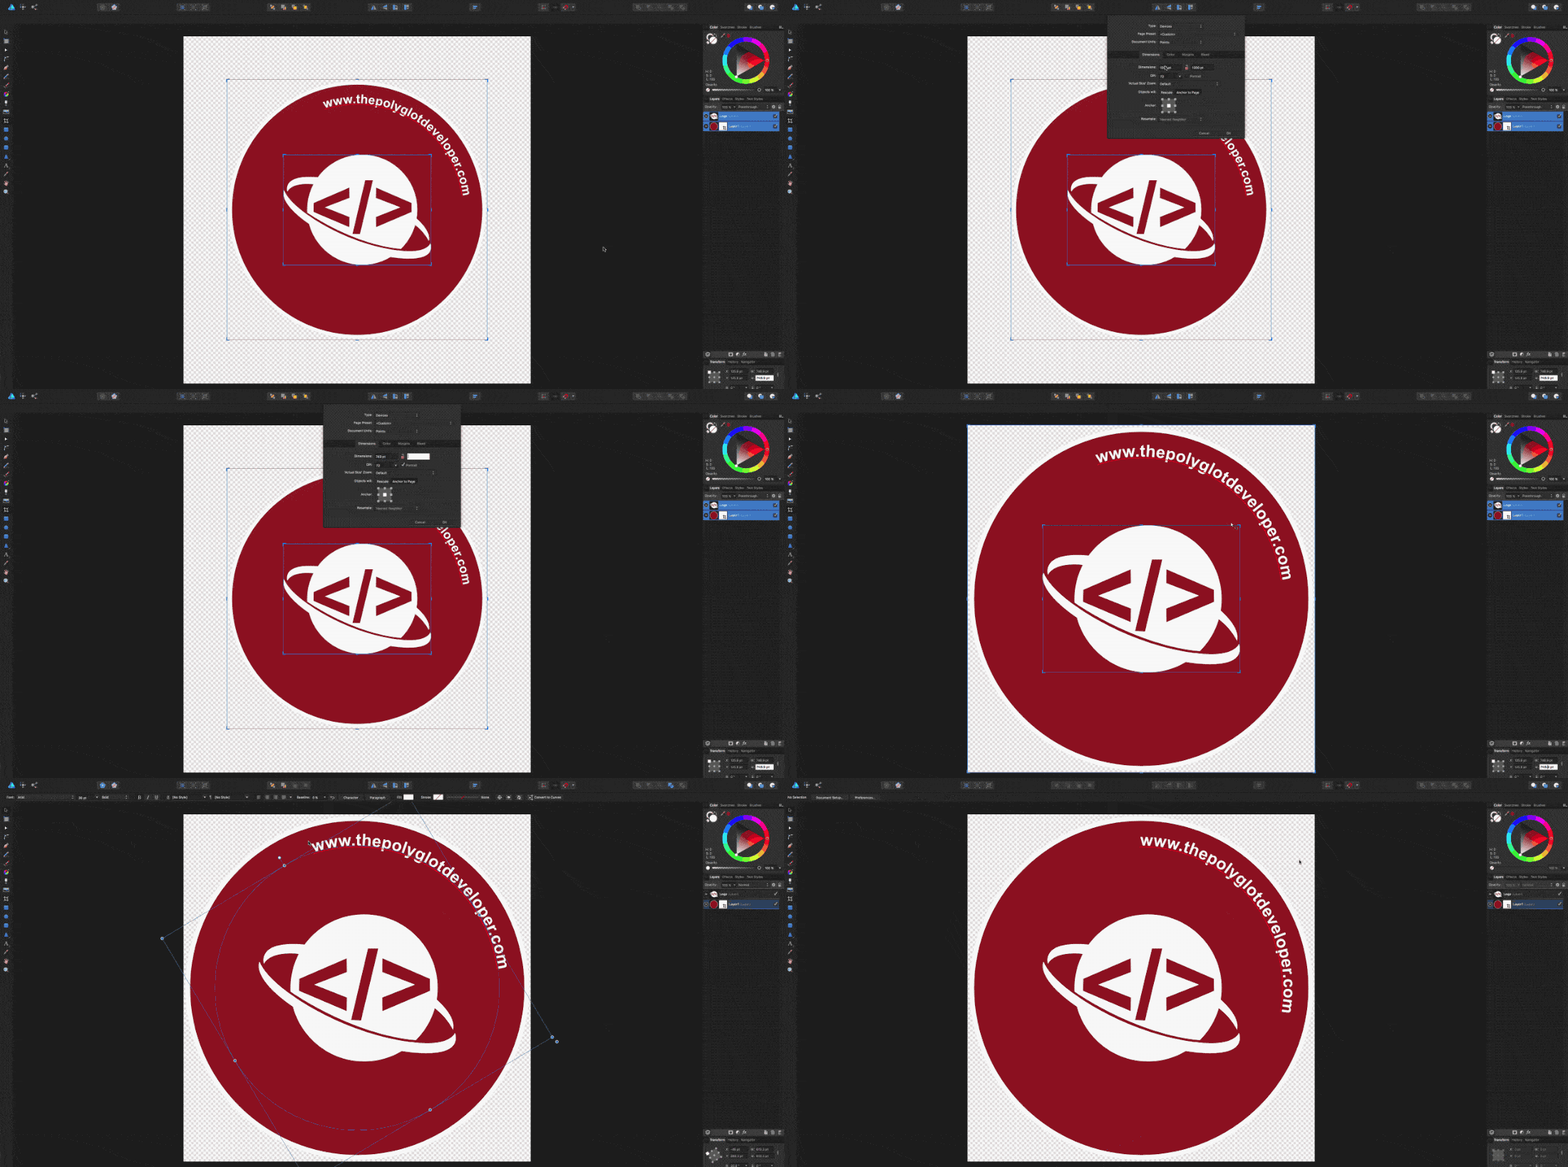
Go back into the document settings found at File -> Document Setup… and adjust the document size to match the values that you saw after you cropped the image.
You’re image should take the full space. Things might shift a little to compensate for the change in size. To fix any shifts, alter the components in the same fashion we’ve seen throughout the guide.
Conclusion
You just saw how to use Affinity Designer to wrap text around a circle and make the image itself circular. I’ve personally been using this to create high quality stickers for The Polyglot Developer using Sticker Mule.
Affinity Designer is a great alternative to Adobe Illustrator and Inkscape because of how polished it feels and because of its very affordable price. It makes vector graphic tasks simple.

