Emulate Classic Video Games On A Raspberry Pi Zero With RetroPie
Are you into video games, because I certainly am. Did you grow up playing the classics on your Nintendo Entertainment System (NES) and Nintendo 64? I did, and I still can’t get enough of them. If you’re like me and love video games and want to go back to simpler times, you can actually build your own entertainment station that contains a mashup of all the best consoles.
We’re going to see how to use an incredibly affordable Raspberry Pi Zero W to create an entertainment system the size of a pack of gum that can emulate all the classics using a custom flavor of Linux called RetroPie.
As a disclaimer, it is potentially illegal to download or distribute ROMs for classic video game systems. If you’re unfamiliar, ROMs are the actual games, not the software to play them. Make sure you understand the laws before you choose to obtain a ROM. For legal reasons, I won’t be referencing any ROM websites.
The RetroPie Hardware
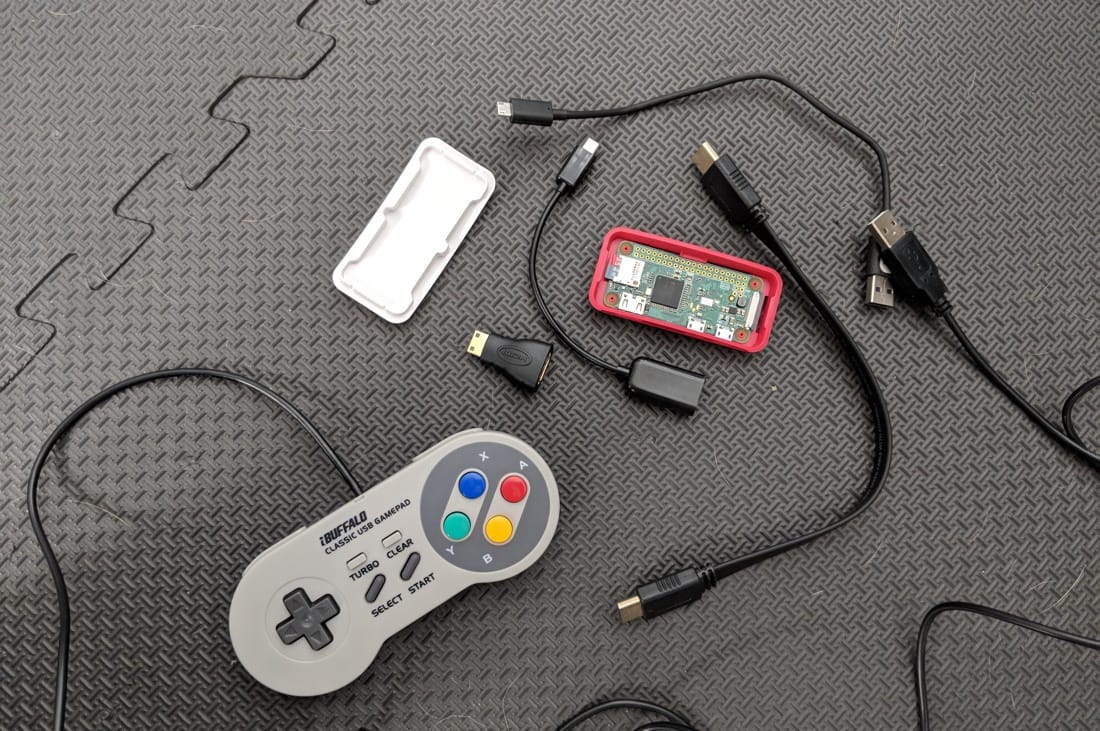
When it comes to our project, there are a lot of options when it comes to hardware. My setup looks like the following and when assembled, it is strapped to the back of my television:

In regards to what my setup contains, it contains the following components, all of which can be found on Amazon:
- Raspberry Pi Zero W
- 16GB Micro SD
- Buffalo USB Controller (SNES)
- Micro USB to USB Female Adapter
- Mini HDMI to HDMI Adapter
- Micro USB Power Cable
The links in the above list are affiliate links which means I’ll get a commission for the referral. The above products are what I’m using, but feel free to use whatever works best for you. Depending on how comfortable you are when it comes to the technical side of things, you may want to invest in a USB keyboard for the software configuration. I didn’t use one so it isn’t necessary.
I also chose to use a Raspberry Pi Zero W which is the wireless edition. It doesn’t matter which version you have, but the wireless version makes it easier to transfer ROMs. Note that the full size Raspberry Pi is more powerful and can handle the more modern games.
Configuring a Raspberry Pi Zero with RetroPie
The installation and configuration part of our RetroPie setup will assume that you’re using a Mac or Linux computer. If you’re using a Windows computer, these steps will be very different. However, you can get an idea of what we’re doing anyways.
Download the latest version of RetroPie for your appropriate Raspberry Pi hardware. Extract the ZIP archive and connect your SD card.
With the SD card mounted, determine the device on your computer versus any other connected media. On a Mac, execute the following from the Terminal:
diskutil list
You’ll likely get several drives returned. Look for the disk that matches your SD card capacity. For example, if you’re using a smaller size media, it should be obvious as all modern drives are usually in the terabytes.
When you have the correct drive information, unmount it, but don’t remove it. You’ll want to enter the following command which is universal to Mac and Linux:
sudo dd bs=1m if=/path/to/retropie.img of=/dev/rdisk2
You’ll want to enter the full path to the .img file that you had extracted. The output should be the correct disk. Note that if you prefix an r character, things will go faster. Just make sure you use the correct disk otherwise you’re going to find yourself in a mess.
The steps outlined above can be found in more detail in a previous tutorial I wrote titled, Use Your Raspberry Pi as a Headless System without a Monitor.
When RetroPie is installed, don’t eject the disk yet. We need to enable SSH as well as configure the WiFi. However, if you prefer, this can be configured with a keyboard when you boot it with a television.
If you’re on a Mac, execute the following commands:
touch /Volumes/boot/ssh
touch /Volumes/boot/wpa_supplicant.conf
The above commands will create two files in the boot volume. Having an ssh file will enable SSH. Open the wpa_supplicant.conf file that was created and include the following:
country=US
ctrl_interface=DIR=/var/run/wpa_supplicant GROUP=netdev
update_config=1

network={
    ssid="NETWORK_NAME"
    psk="WPA_PASSWORD"
}
Replace the network information with that of your own.
Like with the software installation process, more information on configuring WiFi can be found in a previous tutorial I wrote titled, Automatically Apply a WiFi Network Configuration to a Raspberry Pi.
Connect your Raspberry Pi with the SD card as it no longer needs to be connected to your computer. If you wanted to SSH into the RetroPie device, you could do the following:
ssh pi@retropie.local
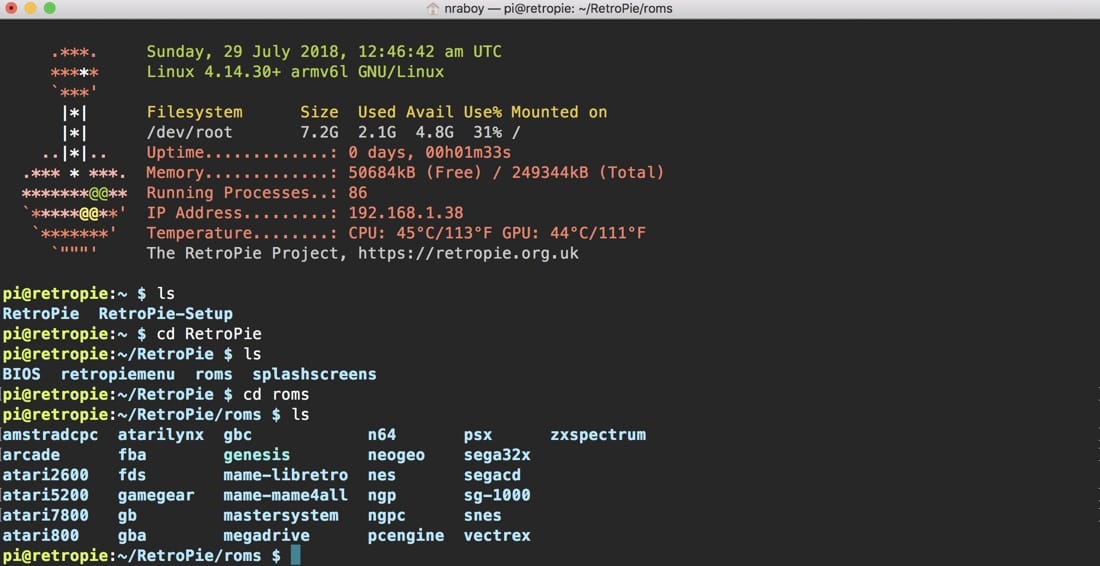
The username is pi and the password is raspberry, just like it is on Raspbian. If you were to explore the RetroPie device, it might look something like this:

When transferring ROM files, you’re going to want to place them in the appropriate emulator directory in the RetroPie/roms path. These files can be transferred using the simple SCP protocol.
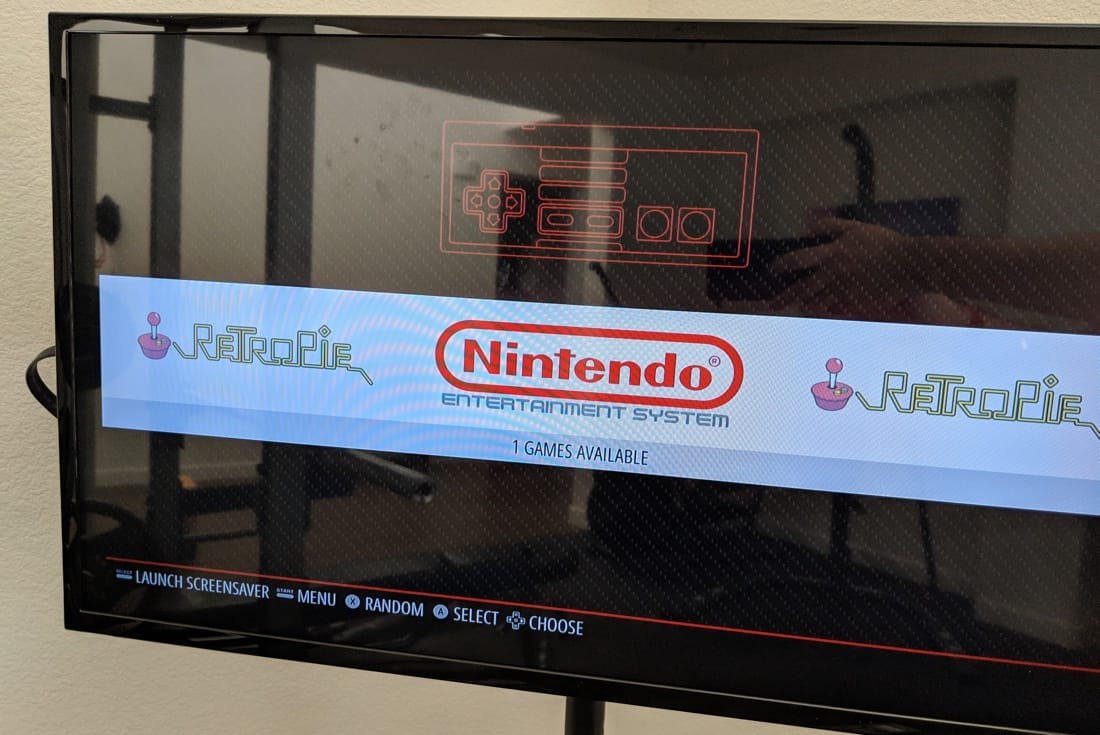
After you’ve transferred ROM files and you boot your Raspberry Pi while connected to a television, you’ll be prompted to configure your controller. Depending on what you’ve transferred, you will see something like this:

Emulators will only appear if games are found. If you transfer ROM files while the Raspberry Pi is in use, you’ll have to tell RetroPie via the configuration to restart the software. It is not necessary to restart the device as ROM files are transferred.
Conclusion
You just saw how to get up and running with RetroPie on a Raspberry Pi Zero W. Of all the things that you can do with the Raspberry Pi, this project is probably one of the easiest. It is also probably the most awesome of the software based Raspberry Pi projects.
Things to note:
- The Raspberry Pi 3 will be more powerful and can run more graphic intense games than the Raspberry Pi Zero.
- The wireless edition is not a requirement.
- ROMs can be potentially illegal so it is important to know what you’re doing in regards to the law.
As long as you follow the above, you should be playing some classic video games on a cheap device in no time at all.

