Share Internet Between macOS and a Raspberry Pi Zero Over USB
If you’re a fan of the Raspberry Pi, you might have stumbled upon my tutorial for interacting with a Raspberry Pi Zero using nothing more than a USB cable. If you recall, the standard Raspberry Pi Zero has no WiFi, no Bluetooth, and no Ethernet.
Alright, so let’s assume that you’re able to interact with your Raspberry Pi Zero. Now what? How do you update it, download new software, or work on some awesome projects that might require internet in some fashion?
Well, you could take a look at my tutorial titled, Three Simple Ways to get Online with a Raspberry Pi Zero IoT Device, or you could share the internet of your host computer without having to purchase any extra hardware.
In this tutorial we’re going to see how to share the internet from our host device, assuming that host is macOS.
Before going forward, the assumption is that you’ve configured your Raspberry Pi Zero to emulate Ethernet of USB and can successfully SSH into the device without any kind of internet connection. If you’re not quite at that point yet, check out my previous tutorial which includes a step by step video as well.
Sharing Internet with a USB Device
The interesting thing about this tutorial is that no further configuration needs to be done to the Raspberry Pi Zero itself. Once your host computer can communicate with the device, the rest of the configuration happens on your host computer. We’re using macOS in this example because that is what I’m using. The steps would be similar for Windows, but since I’m not a Windows user, I cannot properly advise.
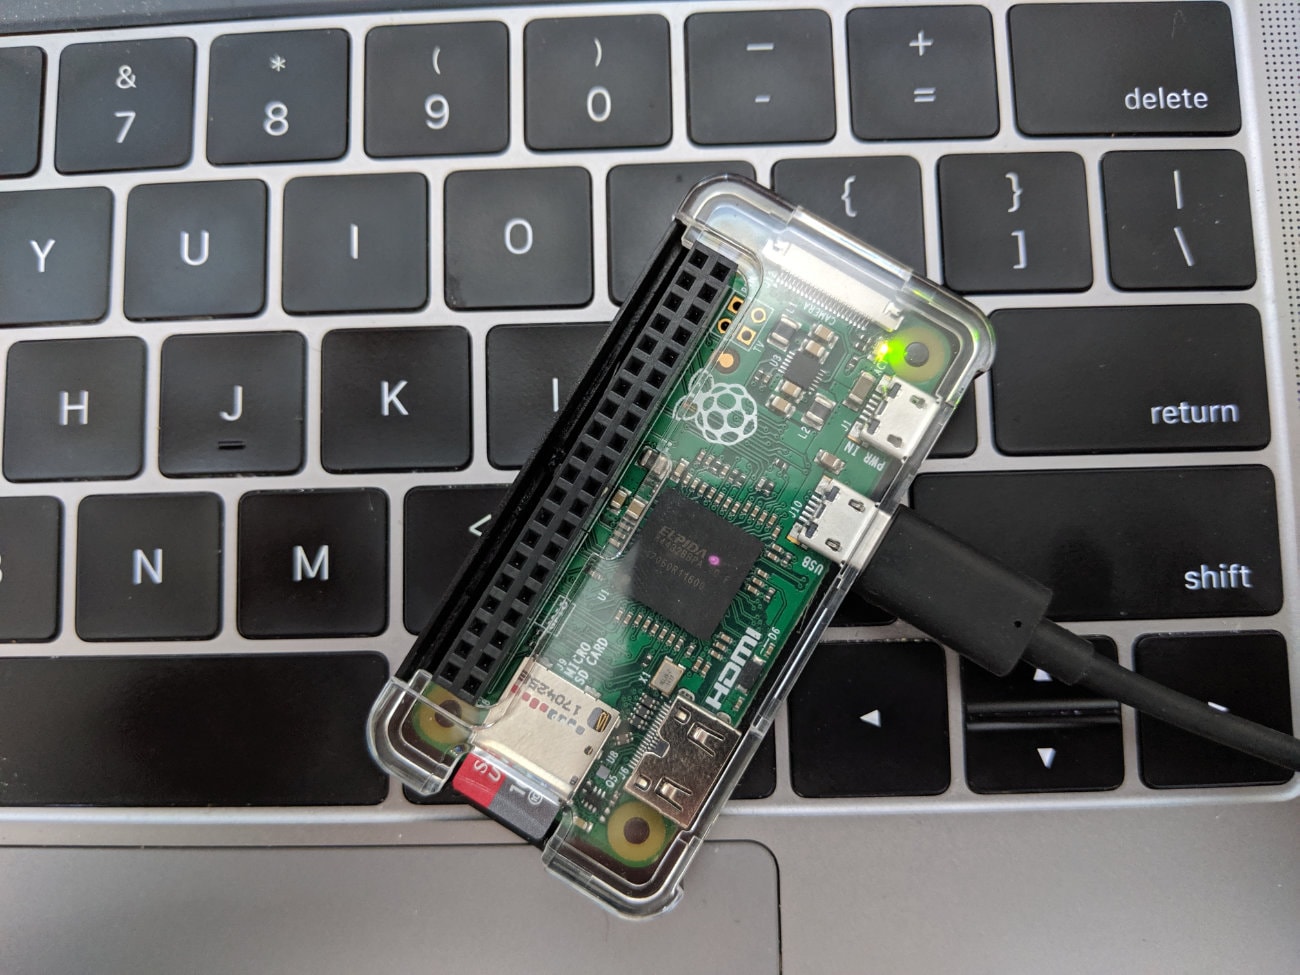
Your Raspberry Pi Zero should be plugged in and powered on.

Make sure it is connected through the data port, not the power port. It will be indicated as USB or PWR next to the port itself on the device.
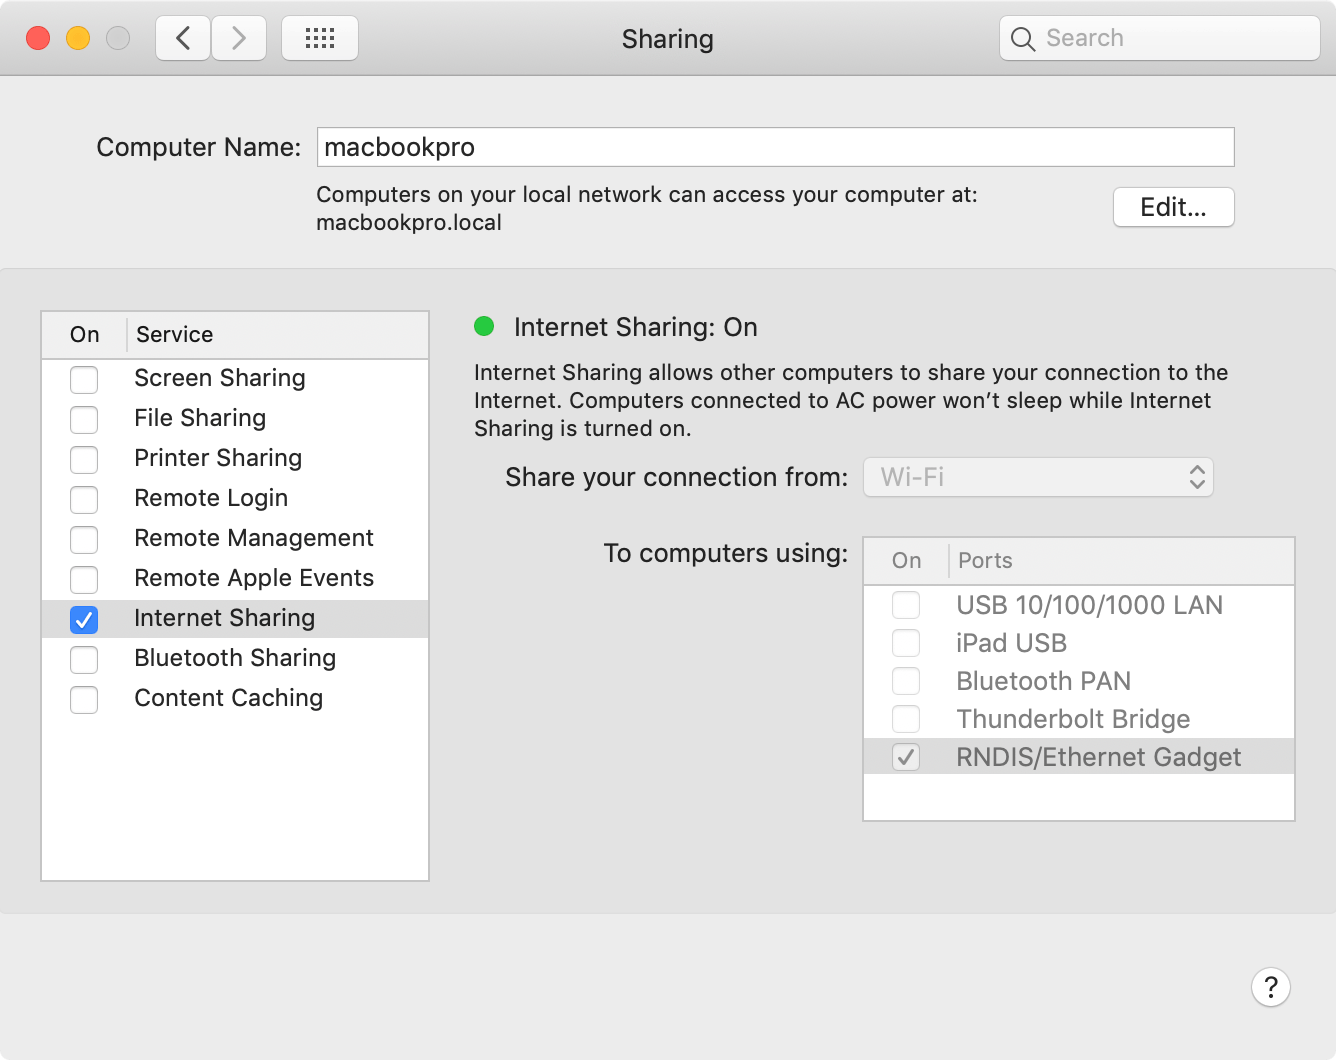
After you’re connected, go to the System Preferences on your Mac and choose the Sharing option. We need to configure Internet Sharing within this area.

The setup is simple. Within this area, choose the device that you’d like to share your internet with. In our scenario, we have an Ethernet gadget, which is the Raspberry Pi Zero emulating Ethernet over USB. After selecting the device, don’t forget to enable internet sharing in general. There should be two boxes checked in total, and after you’ll get a confirmation dialog.
You may need to restart your Raspberry Pi after enabling internet sharing between your host computer and the device. You can test everything worked by connecting to your Raspberry Pi Zero as normal and then issuing an apt-get update or anything else that might require an internet connection.
Conclusion
You just saw how to share an internet connection from your macOS host computer to a Raspberry Pi Zero that contains no WiFi, no Bluetooth, and no Ethernet. This is useful if you don’t want to buy hardware such as network adapters or extensions that connect to the GPIO header. Other reasons why you might want to share your internet connection is if you have a Raspberry Pi that does have a WiFi module. Then you could create your own hot-spot or similar.
Remember, this tutorial had a dependency that you were already emulating Ethernet over USB as explained in my previous tutorial. The good news is that it doesn’t take more than a minute or two to set up.

